 Save
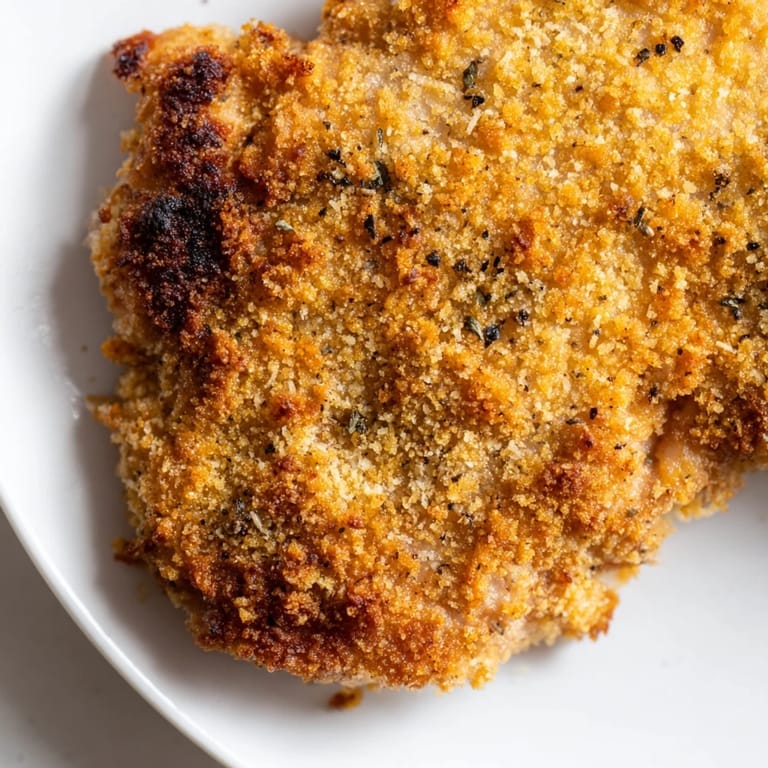
Save The kitchen was a mess of breadcrumbs and flour when I finally nailed this recipe on a random Tuesday night. I'd been craving something crispy and comforting, but didn't want to deal with the heaviness of traditional fried chicken. A friend had mentioned her Italian grandmother's trick of adding Parmesan directly into the breading, and that one detail changed everything. The result was so good that my partner stopped mid-bite and asked if I'd secretly ordered takeout.
I started making this for weeknight dinners, but it quickly became my go-to when friends dropped by unexpectedly. There's something about the smell of garlic and oregano hitting hot oil that makes people wander into the kitchen and linger. One evening, a neighbor stopped by to borrow a tool and ended up staying for dinner because the aroma pulled him in from the hallway. We ended up eating these cutlets with our hands, standing around the stove, laughing about how food has a way of turning strangers into friends.
Ingredients
- Boneless, skinless chicken breasts (4, about 150 g each): Pounding them thin is the secret to quick, even cooking and maximum surface area for that golden crust.
- Large eggs (2): They act as the glue between flour and breadcrumbs, so don't skip the milk, it thins them just enough for an even coat.
- Milk (2 tablespoons): This loosens the egg wash so it doesn't clump, giving you a smoother, more professional looking breading.
- Grated Parmesan cheese (1 cup, 100 g): Use the real stuff, not the shelf-stable kind, the flavor and texture difference is night and day.
- Panko breadcrumbs (1 cup, 100 g): These Japanese-style crumbs stay crispier than regular breadcrumbs because of their larger, airier structure.
- All-purpose flour (1/2 cup, 60 g): The first layer that helps everything else stick, think of it as the foundation.
- Garlic powder (1 teaspoon): Adds a mellow, savory depth without the risk of fresh garlic burning in the hot oil.
- Dried oregano (1 teaspoon): Brings that Italian-American vibe and a hint of earthiness that balances the richness.
- Salt (1/2 teaspoon): Season early and often, the chicken itself needs flavor before the breading even happens.
- Black pepper (1/2 teaspoon): A little bite to wake up the other flavors without overpowering them.
- Olive oil (1/3 cup, 80 ml): Enough to shallow fry and create that crispy, golden exterior, vegetable oil works too if that's what you have.
- Lemon wedges: A squeeze of brightness cuts through the richness and makes every bite feel lighter.
- Fresh parsley, chopped (optional): Adds a pop of color and a fresh, herbal note that feels like a finishing touch.
Tired of Takeout? 🥡
Get 10 meals you can make faster than delivery arrives. Seriously.
One email. No spam. Unsubscribe anytime.
Instructions
- Pound the chicken:
- Place each breast between two sheets of plastic wrap and gently pound with a meat mallet or rolling pin until about 1/2 inch thick. This ensures they cook quickly and evenly, and gives you more surface area for that delicious crust.
- Season generously:
- Sprinkle both sides of each chicken breast with salt and pepper. Don't be shy, this is your chance to build flavor from the inside out.
- Set up your breading station:
- Grab three shallow bowls and fill the first with flour, the second with eggs whisked together with milk, and the third with panko, Parmesan, garlic powder, and oregano mixed well. Line them up like an assembly line so you can move smoothly.
- Coat each cutlet:
- Dredge a chicken breast in flour, shake off the excess, dip it in the egg mixture, then press it firmly into the Parmesan-panko blend, making sure every inch is covered. Repeat with the remaining pieces.
- Heat the oil:
- Pour olive oil into a large skillet and warm it over medium-high heat until it shimmers. You want it hot enough that a breadcrumb dropped in sizzles immediately.
- Fry until golden:
- Working in batches to avoid crowding, cook each cutlet for 3 to 4 minutes per side until the crust is deep golden and the internal temperature hits 74°C (165°F). Don't flip too early or the breading might stick.
- Drain and rest:
- Transfer the cooked cutlets to a paper towel-lined plate to soak up excess oil. Let them rest for a minute so the juices redistribute.
- Serve immediately:
- Plate the cutlets while they're still hot, scatter fresh parsley on top if you like, and serve with lemon wedges on the side. The squeeze of lemon right before eating is non-negotiable.
 Save
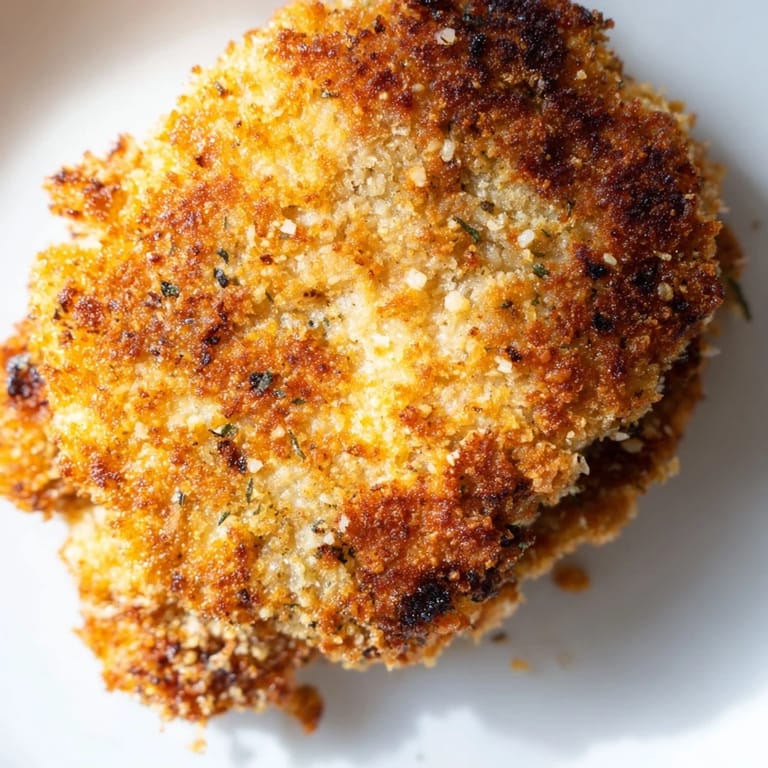
Save One Sunday, I made a double batch and packed the extras for my friend who'd just had a baby. She texted me later that night saying it was the first meal in weeks that didn't come from a container or require assembly. Sometimes the best recipes are the ones that show up when people need them most, warm and ready, no questions asked.
Storing and Reheating
Leftovers keep well in the fridge for up to three days in an airtight container. When you're ready to eat them again, skip the microwave, it turns the crust soggy. Instead, reheat them in a 180°C (350°F) oven for about 10 minutes until they're hot and crispy again. I've even frozen cooked cutlets and reheated them straight from the freezer with great results, just add a few extra minutes in the oven.
Serving Suggestions
These cutlets are endlessly adaptable depending on your mood. I love them sliced over a peppery arugula salad with shaved Parmesan and a lemony vinaigrette for something light. Other nights, I'll tuck one into a crusty roll with marinara and mozzarella for a quick chicken parm sandwich. They're also perfect alongside garlic butter pasta, roasted vegetables, or even mashed potatoes if you're leaning into comfort food territory.
Making It Your Own
Once you've made this a few times, it becomes a template for experimentation. I've swapped the Parmesan for pecorino when I wanted something sharper, and added lemon zest to the breading for extra brightness. A pinch of chili flakes in the breadcrumb mix gives it a subtle kick that keeps things interesting. You could also try different herbs like thyme or basil depending on what's in your pantry.
- For a spicier version, mix cayenne or smoked paprika into the breading.
- Try topping the cooked cutlets with fresh mozzarella and broiling for a minute for an easy chicken parm twist.
- If you're avoiding gluten, use gluten-free panko and a gluten-free flour blend, the method stays the same.
 Save
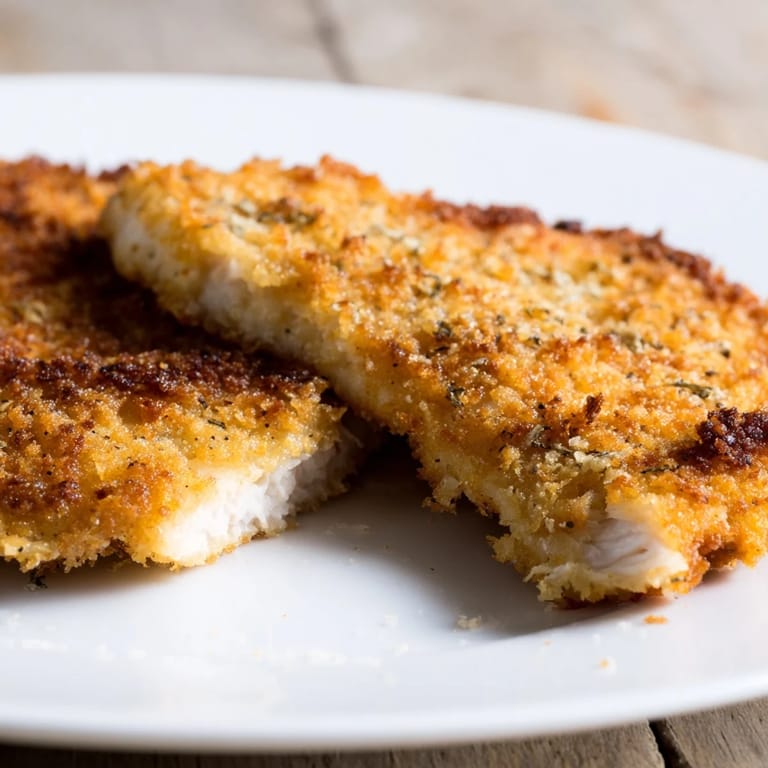
Save This recipe has earned its place in my regular rotation because it delivers every single time without demanding much from me. Whether it's a quiet Tuesday or a table full of people, these cutlets just work.
Recipe FAQs
- → How thin should I pound the chicken breasts?
Pound the chicken breasts to approximately 1/2 inch (1.25 cm) thickness. This ensures even cooking and helps them cook through quickly while developing a crispy exterior.
- → What's the best oil for frying these cutlets?
Olive oil works wonderfully and adds authentic Italian flavor, though vegetable oil or canola oil are good alternatives. Use medium-high heat to achieve a golden-brown crust without burning the breadcrumb coating.
- → How do I know when the chicken is fully cooked?
The internal temperature should reach 74°C (165°F) when measured with a meat thermometer. The cutlets should be golden brown on both sides, taking approximately 3-4 minutes per side depending on thickness.
- → Can I make these ahead of time?
Yes, you can bread the chicken several hours in advance and refrigerate until ready to cook. For leftovers, reheat in a 180°C (350°F) oven for 10-12 minutes to maintain crispiness rather than microwaving.
- → What variations can I try?
Add a pinch of chili flakes to the breadcrumb mixture for heat, incorporate fresh herbs like basil, or dust with lemon zest after cooking. You can also substitute half the Parmesan with other hard cheeses like Pecorino Romano.
- → What sides pair well with this dish?
Serve alongside fresh arugula salad with lemon vinaigrette, pasta with marinara or aglio e olio, roasted vegetables, or a simple mixed green salad. Lemon wedges are essential for squeezing over the top.