 Save
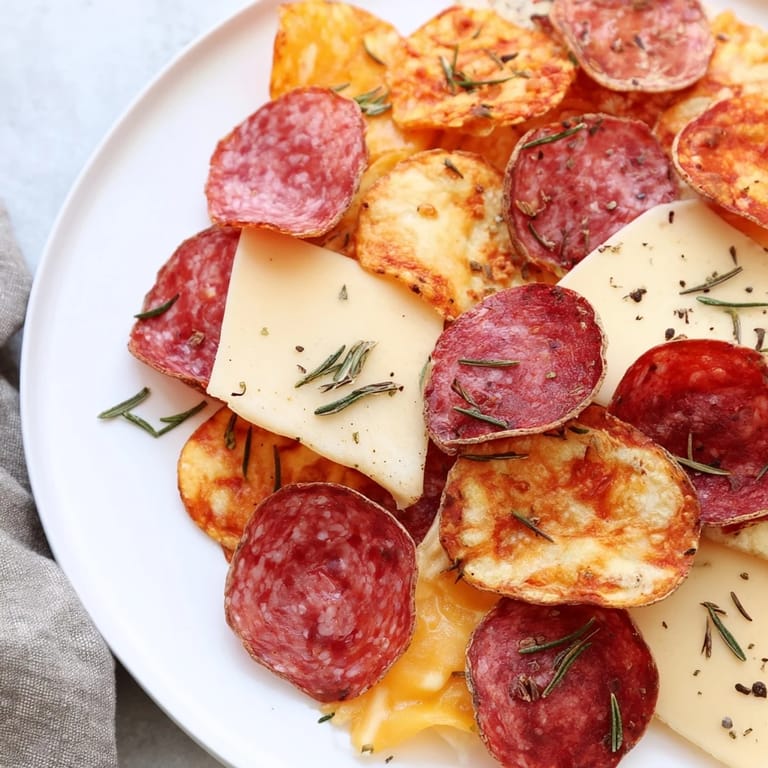
Save There's something magical about the moment when salami hits a hot oven and the edges curl up like tiny golden trumpets. I discovered these charcuterie chips by accident while trying to crisp up some prosciutto that was about to go bad, and suddenly I had this addictive snack that felt fancy without any fuss. My kitchen smelled like a European deli, and within minutes I had something that looked restaurant-quality on a humble baking sheet. Now whenever I need an impressive appetizer that takes barely half an hour, these are my secret weapon.
I made these for the first time at a dinner party where someone mentioned they'd gone keto, and I panicked because my usual appetizer repertoire felt too carb-heavy. Two baking sheets in the oven and eight minutes later, I was sliding golden cheese crisps onto a board and arranging them with the meat chips like I'd planned it all along. The relieved look on my friend's face when she realized she could actually eat something amazing made me feel like a kitchen genius, even though the whole thing was basically glorified snack alchemy.
Ingredients
- Thinly sliced salami (100g): This is your workhorse—choose a good quality one because the thin slices will cook down to crispy little rounds and any off flavors get concentrated.
- Thinly sliced prosciutto (100g): The delicate one that gets almost papery and shatters in your mouth, so don't overlap the slices or they'll steam instead of crisp.
- Thinly sliced pepperoni (100g): Brings a peppery kick and a bit of color contrast, and honestly it's the most forgiving of the meats about not being perfectly thin.
- Hard aged cheese like cheddar, Manchego, or Parmesan (100g): These don't melt into puddles but instead get bubbly and golden, then firm right back up as they cool—that's your target.
- Semi-hard cheese like Gouda or provolone (100g): These melt slightly more than hard cheeses, creating little pools of flavor that cool into chewy crisps with some give to them.
- Fresh herbs and cracked black pepper (optional): A pinch of thyme or rosemary on the cheese before baking adds a whisper of flavor without overpowering the ingredients.
Tired of Takeout? 🥡
Get 10 meals you can make faster than delivery arrives. Seriously.
One email. No spam. Unsubscribe anytime.
Instructions
- Get your oven ready and set the stage:
- Preheat to 375°F and line two baking sheets with parchment paper—this is non-negotiable because your chips need that crisp bottom and the parchment makes them release like a dream.
- Arrange your meats with intention:
- Lay salami, prosciutto, and pepperoni on one sheet in a single layer, making sure pieces don't touch or overlap. Think of it like giving each slice its own little square of real estate in the oven.
- Position your cheeses for success:
- Space cheese slices on the second sheet with a little breathing room between them—they'll spread slightly as they melt and you want to avoid one giant cheese blob.
- Add flavor if you're feeling it:
- Sprinkle herbs or pepper over the cheese slices now, while you're thinking about it and they're still stationary.
- Bake the meats until they sing:
- Slide the meat sheet in for 8 to 10 minutes, watching until the edges brown and curl slightly. You'll know they're done when they look thin and crispy and smell like a fancy charcuterie board came to life.
- Crispen up the cheese:
- The cheese goes in for just 6 to 8 minutes—this is quick, so set a timer and don't wander off. You want bubbling and golden, not brown and burnt.
- Cool with patience:
- Let the meat chips cool completely on the sheet (they'll crisp up more as they cool), and give the cheese chips a five-minute rest before you gently lift them with a spatula so they stay intact.
- Plate and serve your masterpiece:
- Arrange everything on a board or platter and serve right away while they still have that ideal crunch.
 Save
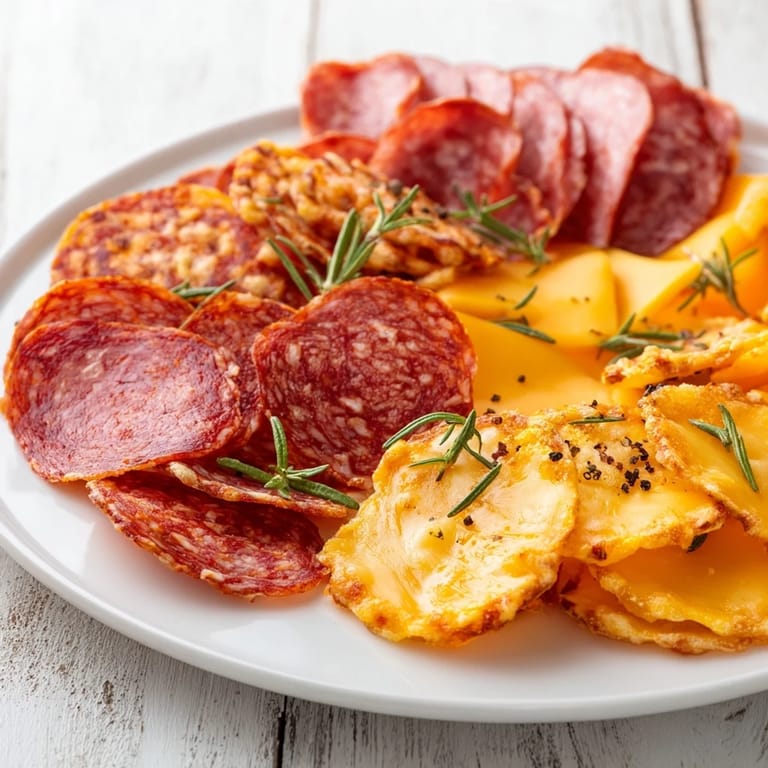
Save There's a moment right after they come out of the oven when the kitchen fills with this savory, salty aroma that makes everyone in the house appear in the kitchen like you've called them with an invisible dinner bell. Watching someone bite into a cheese crisp and get that immediate snap, then the flavor of aged cheddar or Manchego hitting all at once—that's when you realize you've made something that feels way more special than the effort involved.
The Magic of Thinness
The secret to these chips is understanding that thinness equals crispiness, and thickness equals regret. When you slice your meats and cheeses thin enough (and your butcher counter can totally do this for you if you ask), they bake down into these impossibly crispy vehicles for flavor instead of staying thick and chewy. I learned this the hard way by trying to make chips from thicker slices and ending up with something that felt more like dried-out jerky than the elegant crisps I was going for. The thinner you can get them, the faster they cook and the more shattering-crisp they become.
Playing with Flavors
Once you understand the basic formula, this recipe becomes your playground for experimenting with different cured meats and cheeses based on what you find at your market or what's calling to you that day. I've played around with smoked varieties, spicy soppressata, and different regional cheeses, and honestly each combination tells its own little story. The beauty is that the cooking method stays exactly the same—it's just swapping out the players while the stage remains constant.
Serving and Storage Wisdom
These are best served the moment they cool because time is their enemy once they're crispy—they'll start absorbing moisture from the air and lose that shattering quality that makes them so good. I've found that serving them on a wooden board or a piece of slate makes them look almost too nice to eat, and pairing them with briny olives, tart pickles, or a glass of wine turns them into a proper little moment instead of just a snack.
- Store any leftovers in an airtight container at room temperature, though honestly they rarely last more than a day in my house.
- If they do soften slightly, you can pop them back in a 300°F oven for a minute or two to re-crisp them before serving.
- Make them earlier in the day and serve them cool but not cold for the best texture and flavor.
 Save
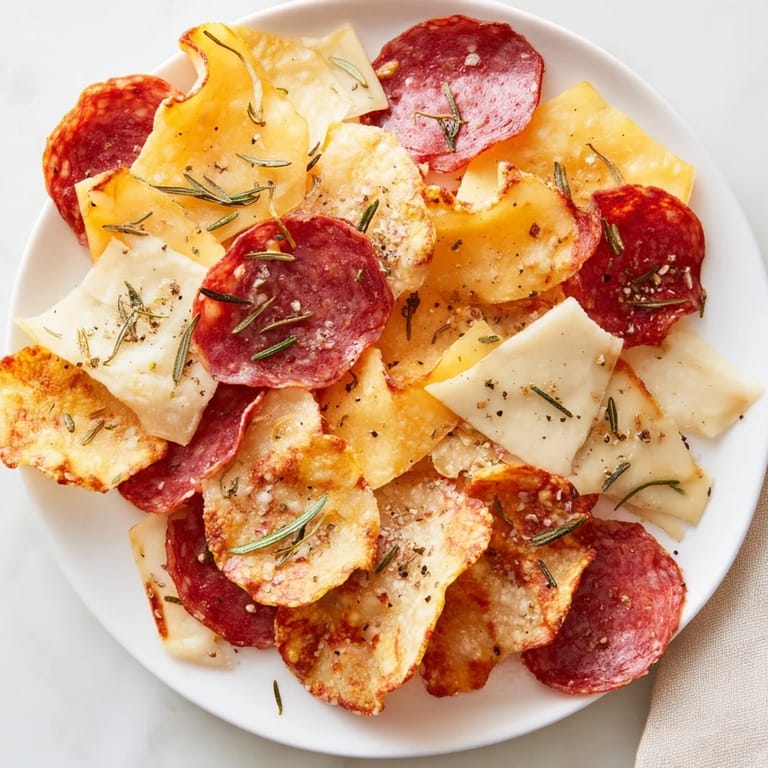
Save These charcuterie chips have become my move for when I want to impress people without spending hours in the kitchen. They've earned their place in my regular rotation because they're simple, elegant, and always disappear.
Recipe FAQs
- → What meats are best for making charcuterie chips?
Thinly sliced cured meats such as salami, prosciutto, and pepperoni work best, as they crisp evenly without curling excessively.
- → How do I prevent the meat or cheese from sticking to the baking sheet?
Line baking sheets with parchment paper to ensure easy removal and prevent sticking during baking.
- → Can I add flavor variations to the cheese before baking?
Yes, sprinkling fresh herbs like thyme or cracked black pepper, or a pinch of smoked paprika before baking enhances the flavor.
- → How long does it take to bake cheese and meat chips?
Meat chips bake for 8–10 minutes until crisp at the edges, while cheese chips take about 6–8 minutes until golden and bubbling.
- → What are good serving suggestions for these charcuterie chips?
Serve them immediately on a platter, paired with olives, pickles, or a light red wine for a complete snacking experience.