 Save
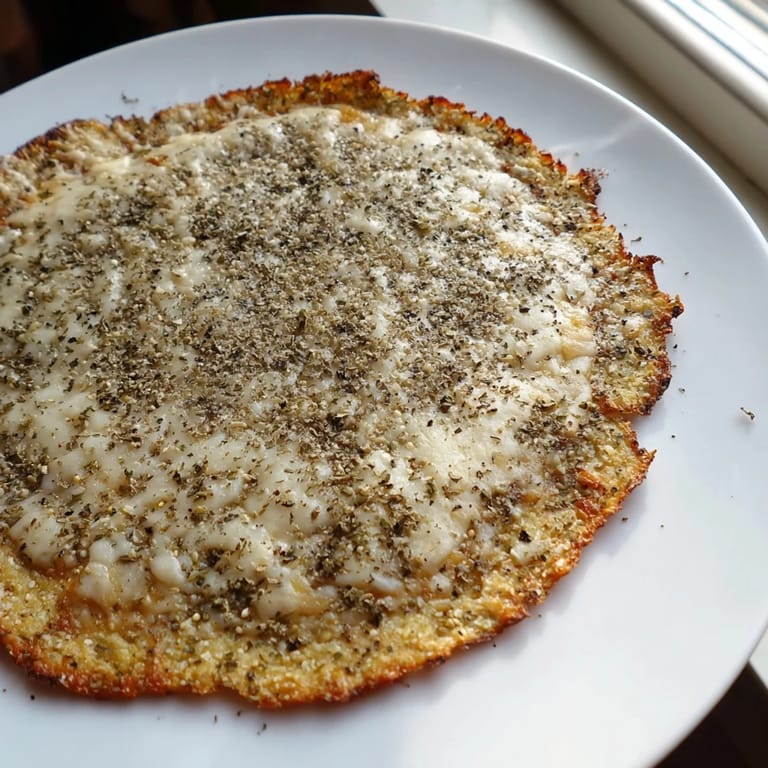
Save The first time I tried cauliflower crust, I was skeptical. Pizza without the dough felt like a betrayal of everything I loved about Friday nights, but one bite changed my mind completely. My friend Sarah had made it on a whim during a low-carb experiment, and watching her shape that golden mixture with her hands, I realized this wasn't a compromise—it was something entirely its own, crispy and savory in a way that felt almost indulgent despite being genuinely good for you.
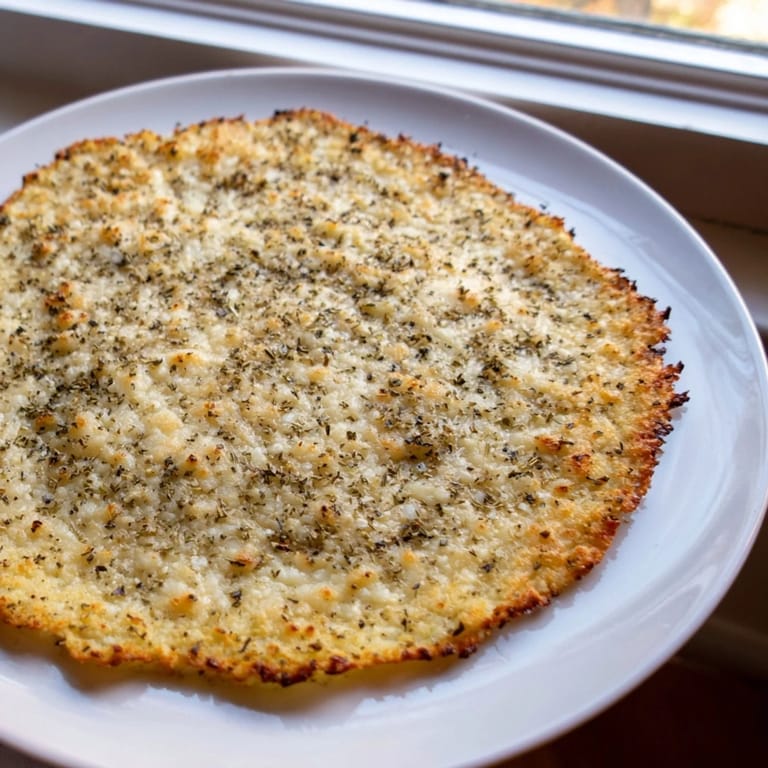
I still remember making this for a dinner party where one guest had mentioned avoiding gluten, and instead of scrambling for alternatives, I casually brought out three pizzas—regular for some, this cauliflower version for others. The plate of the cauliflower ones got devoured first, which told me everything. Everyone was too busy enjoying their slices to notice what they were eating, and that's exactly when you know a recipe has truly won someone over.
Ingredients
- Cauliflower: A medium head gives you the perfect ratio of vegetable to binding ingredients; smaller heads can result in a less sturdy crust, while larger ones require scaling up other components.
- Mozzarella and Parmesan cheese: The mozzarella creates elasticity and helps hold everything together, while Parmesan adds a sharp, salty note that makes the crust taste intentional rather than like a diet hack.
- Egg: This is your binder; it's what keeps the whole thing from falling apart, and I've learned that room-temperature eggs incorporate more smoothly than cold ones.
- Oregano, garlic powder, salt and pepper: Season generously here because the cauliflower itself is mild; these aromatics are what convince your brain you're eating something special.
Tired of Takeout? 🥡
Get 10 meals you can make faster than delivery arrives. Seriously.
One email. No spam. Unsubscribe anytime.
Instructions
- Process the cauliflower until it resembles rice:
- Pulse it in short bursts rather than running the processor continuously; this gives you better texture control and prevents the florets from becoming a wet paste. You're aiming for tiny, uniform pieces that look like couscous.
- Microwave to soften:
- Four to five minutes on high is the magic window; under and it stays too firm, over and it becomes mushy and releases water you'll spend ten minutes squeezing out. Let it cool for a minute so you don't burn your hands.
- Squeeze out the moisture:
- This is non-negotiable if you want crispy edges. Wrap it in a clean kitchen towel and really wring it out like you're squeezing the last drop from a dishcloth; you'd be shocked how much water is hiding in there.
- Mix the dough:
- Combine the drained cauliflower with egg, cheeses, and seasonings until it becomes a sticky, cohesive mass. The mixture should hold together when you squeeze it but still feel slightly tacky.
- Shape on parchment paper:
- Spread it to about half a centimeter thick; too thin and it crisps unevenly, too thick and the center stays slightly dense. I use my hands to shape it, wetting my fingers slightly so it doesn't stick.
- First bake until golden and set:
- Twenty to twenty-five minutes at 220°C should give you a firm, lightly browned crust that holds its shape. It won't feel fully done; you're just cooking out enough moisture so it can support toppings.
- Add toppings and finish:
- Spread your sauce, cheese, and vegetables across the pre-baked crust, then bake for five to eight more minutes until everything is hot and bubbly. This two-step approach prevents a soggy bottom.
 Save
Save There's a moment right around the fifteen-minute mark when this crust starts smelling like toasted cheese and garlic, and that's when I know it's going to be good. It's become the recipe I make when I want to prove to myself that eating well doesn't have to feel like sacrifice.
Flavor Combinations That Work Beautifully
A classic margherita with fresh basil and a good tomato sauce is lovely, but I've had tremendous success with white pizza topped with ricotta, spinach, and garlic oil. The subtlety of the crust actually shines more when you're not competing with heavy sauces.
Storage and Reheating
The crust keeps in the refrigerator for three days after baking, and you can even freeze it for up to a month. Reheat a slice in the toaster oven at 180°C for about five minutes until it's warm and crispy again—the microwave will make it soggy, so resist the temptation.
Why This Crust Became My Go-To
What started as a curiosity turned into a weeknight staple because it genuinely tastes good and doesn't require me to feel like I'm compromising on anything. The process is simple enough that even on tired evenings, I don't mind making it from scratch.
- You can prep the dough in the morning and bake it fresh before dinner, making it surprisingly convenient for busy days.
- It pairs beautifully with roasted vegetables and a simple salad, turning a quick meal into something that feels intentional.
- Once you nail the moisture-squeezing step, the rest becomes muscle memory, and you'll find yourself making it whenever pizza sounds good but you want something lighter.
 Save
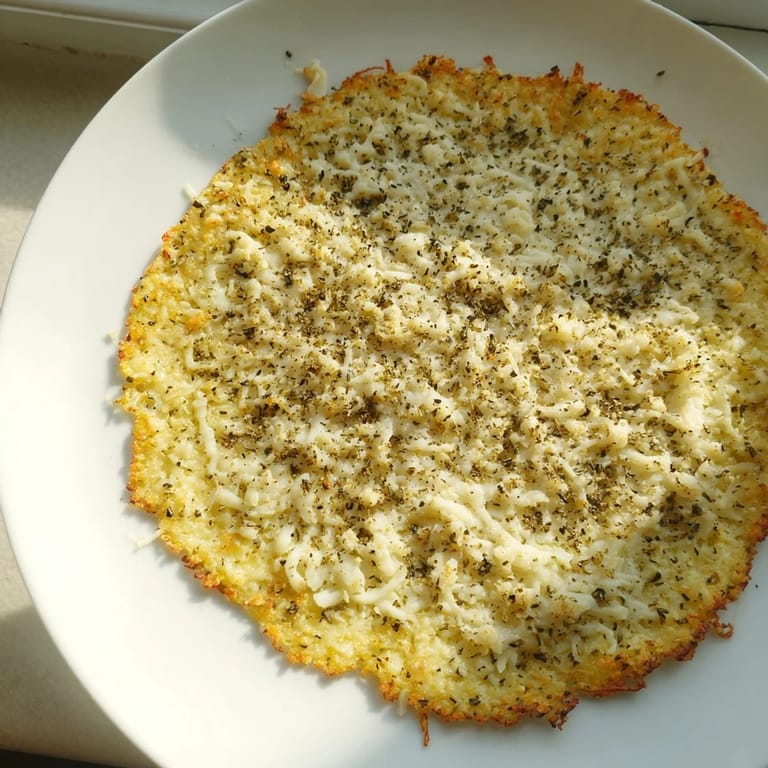
Save This crust has become my answer to so many different dining scenarios—a weeknight dinner, a way to include friends on different diets, a proof that restrictions can lead to discovery. Every time I make it, I remember why food is so much more than just fuel.
Recipe FAQs
- → How do I prevent the crust from becoming soggy?
Ensure to thoroughly squeeze out all moisture from cooked cauliflower using a kitchen towel or cheesecloth before mixing with other ingredients. This step is essential for a crisp crust.
- → Can I make this base without eggs or cheese?
Yes, you can substitute eggs and cheese with vegan alternatives to create a dairy-free or vegan version while maintaining texture and flavor.
- → What tools are needed to prepare this pizza base?
A food processor to pulse cauliflower, a microwave to soften it, a kitchen towel or cheesecloth to drain moisture, and a baking sheet lined with parchment paper are required.
- → How long does the crust bake in the oven?
Bake the crust for 20–25 minutes at 220°C (425°F) until it turns golden brown and firm before adding toppings.
- → Is this base suitable for low-carb diets?
Yes, the cauliflower base is naturally low in carbohydrates, making it an excellent option for low-carb and keto-friendly meals.