 Save
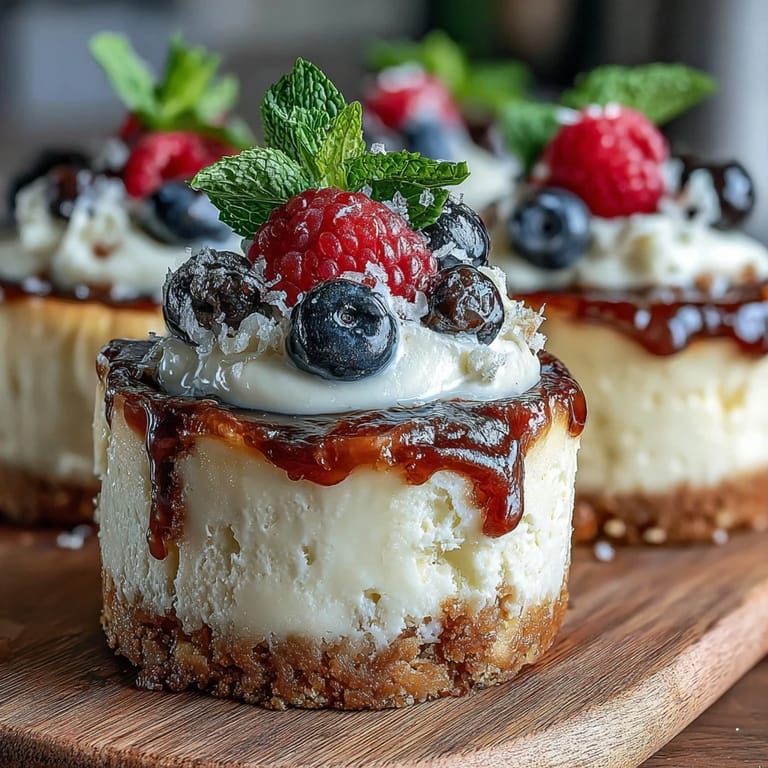
Save My neighbor handed me one of these mini cheesecakes at her housewarming party last spring, and I remember being genuinely surprised by how creamy and rich it was despite being the size of a golf ball. She'd made two dozen of them that morning, and they disappeared within an hour. Later that week, I found myself standing in my kitchen at midnight, butter melting on the stove, determined to crack her recipe because I couldn't stop thinking about that little burst of sweetness on my tongue.
I made these for the first time when my best friend was moving into her new apartment, and watching her face light up when she bit into one was honestly worth every minute in the kitchen. She ate three in a row without pausing, which told me everything I needed to know about whether they actually worked.
Ingredients
- Graham cracker crumbs: Buy them pre-crushed or pulverize whole crackers yourself; the texture should be sandy, never powdery or you'll end up with a dense crust that fights your bite.
- Granulated sugar: Measure it out honestly for the crust mixture because packed sugar will throw off your proportions and create an overly sweet base.
- Unsalted butter, melted: Let it cool for just a minute after melting so it doesn't cook the graham crumbs, which somehow changes their flavor in a way you don't want.
- Cream cheese, softened: Leave it on the counter for at least thirty minutes before beating; cold cream cheese creates lumps that no amount of mixing will fully dissolve.
- Eggs: Add them one at a time and pause between additions, which sounds fussy but actually matters because it keeps the filling from becoming grainy.
- Sour cream: This is the secret weapon that keeps the filling tender and prevents that rubbery texture that disappoints you after all that work.
- Vanilla extract: Use real vanilla if you can because the filling is so delicate that imitation extract actually stands out in a way it shouldn't.
- All-purpose flour: Just a tablespoon prevents cracks from forming on top as the cheesecakes cool, and it's barely noticeable in the finished bite.
Tired of Takeout? 🥡
Get 10 meals you can make faster than delivery arrives. Seriously.
One email. No spam. Unsubscribe anytime.
Instructions
- Get your oven and tin ready:
- Preheat to 325°F and line your mini muffin tin with paper liners, which makes removal so much easier and keeps cleanup manageable. This small step saved me from scraping cheesecake off metal cups at eleven at night.
- Create the crust foundation:
- Mix your graham crumbs, sugar, and melted butter until it resembles wet sand, then press about a teaspoon into each liner with your thumb. You'll feel the mixture compact under gentle pressure, and that's exactly what you want.
- Whip the cream cheese base:
- Beat your softened cream cheese until it's absolutely smooth before adding anything else, which prevents lumps from hiding in your filling later. Take a moment here to really work it until it looks like silk.
- Add sweetness and structure:
- Mix in sugar until creamy, then add eggs one at a time, letting the mixer run for just a few seconds between each addition. This patience keeps the filling light and tender instead of dense.
- Fold in the finishing touches:
- Add sour cream, vanilla, flour, and salt, mixing just until everything is combined and no streaks of white remain. Over-mixing here can introduce air bubbles that create little holes in your finished cheesecakes.
- Fill the waiting cups:
- Spoon the batter over each crust until the liner is nearly full, being generous enough that each bite has plenty of cheesecake. Leave just a tiny gap at the top because they rise slightly during baking.
- Bake with attention:
- Bake for 18 to 20 minutes until the centers jiggle just slightly when you gently shake the pan, which means they're cooked through but still creamy. Over-baking creates a grainy, crumbly texture that haunts you.
- Cool with patience:
- Let them sit in the pan for 15 minutes so they firm up slightly, then transfer to a wire rack and into the fridge for at least an hour. This waiting period is when they transform from warm cake into proper cheesecake.
- Finish with personality:
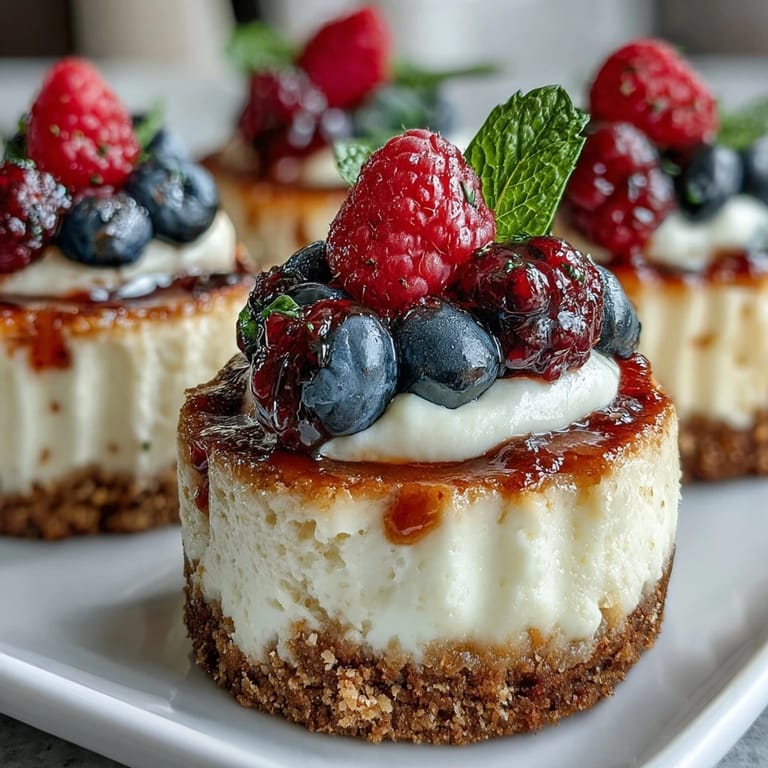
- Top with berries, preserves, whipped cream, or chocolate just before serving, which keeps them from getting soggy. This is where you make them your own.
 Save
Save There's something genuinely special about serving homemade mini cheesecakes that people didn't expect you to make, because the surprise on their faces makes the effort feel worth it every single time. These little things have a way of making any gathering feel a bit more thoughtful.
Variations That Actually Work
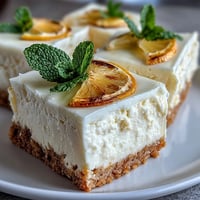
Once I started experimenting with flavors, I realized these mini cheesecakes are incredibly forgiving canvases for creativity. A teaspoon of lemon zest swirled into the filling changes everything, turning it bright and sophisticated without overwhelming the actual cheesecake taste. I've also tried adding a half-teaspoon of almond extract instead of vanilla, which sounds risky but somehow creates this subtle depth that people can't quite identify but definitely notice.
Make-Ahead Strategy
The beauty of this recipe is that you can assemble everything the night before and just slide the tin into the oven when you're ready, which takes so much pressure off the day of your gathering. They also keep beautifully in the fridge for up to three days without losing their texture, so there's zero shame in making them early and just adding toppings fresh before serving.
Serving and Storage Wisdom
I learned the hard way that these are best eaten at cool room temperature rather than straight from the fridge, which lets the flavor really shine through. Pulling them out about ten minutes before serving makes a noticeable difference, and your guests will taste the difference between rushed and thoughtful.
- Store them in an airtight container in the fridge and they'll stay perfect for at least three days, maybe four if nobody knows they're there.
- If you want to make them even further ahead, freeze them unbaked and pop the tin straight into the oven from frozen, just add a few extra minutes to the bake time.
- Always add toppings just before serving to keep the crust crispy and the filling from getting weepy.
 Save
Save These mini cheesecakes turned into my default gift for new neighbors and housewarming celebrations, and I've genuinely lost count of how many batches I've made. There's something about feeding people something small and perfect that makes moments feel bigger than they actually are.
Recipe FAQs
- → What type of crust is used in these mini cheesecakes?
A crisp graham cracker crust made with graham crumbs, sugar, and melted butter forms the base.
- → How long should the mini cheesecakes chill before serving?
Chill for at least one hour to firm up and develop a smooth, creamy texture.
- → Can these mini cheesecakes be made gluten-free?
Yes, substituting gluten-free graham crackers and flour can adapt them for gluten-free needs.
- → What toppings complement these mini cheesecakes best?
Fresh berries, fruit preserves, whipped cream, or chocolate shavings add flavor and visual appeal.
- → What makes these cheesecakes creamy and smooth?
The filling blends softened cream cheese with sugar, eggs, sour cream, vanilla, and a touch of flour for structure.