 Save
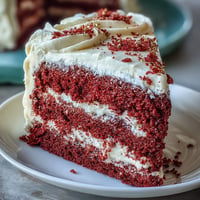
Save Soft red crumb and velvety cream cheese frosting meet a crisp dark chocolate Betty Boop silhouette in this stunning Red Betty Boop Heart Cake. This dessert creates a playful contrast of textures and a burst of sweet-tangy flavor in every bite, making it the perfect centerpiece for a special celebration or a themed party.
Save This cake is not just about its iconic look; it is a meticulously crafted American classic. By combining a light, airy crumb with a rich, smooth frosting, it delivers a high-quality dessert experience. The addition of the Betty Boop silhouette brings a touch of vintage flair that will surely impress your guests.
Ingredients
Tired of Takeout? 🥡
Get 10 meals you can make faster than delivery arrives. Seriously.
One email. No spam. Unsubscribe anytime.
- For the Cake: 2 ½ cups (312g) cake flour (sifted), 2 tablespoons natural unsweetened cocoa powder, 1 ½ teaspoons baking powder, ½ teaspoon baking soda, ½ teaspoon fine sea salt, 1 cup (224g) unsalted butter (room temperature), 1 ¾ cups (350g) granulated sugar, 4 large eggs (room temperature), 1 cup (240ml) buttermilk (room temperature), 2 tablespoons red gel food coloring, 2 teaspoons pure vanilla extract, 1 teaspoon white vinegar, 1 teaspoon distilled white vinegar.
- For the Cream Cheese Frosting: 1 cup (240g) cream cheese (room temperature), ½ cup (112g) unsalted butter (room temperature), 4 cups (480g) powdered sugar (sifted), 1 tablespoon pure vanilla extract, pinch of salt.
- For the Decoration: 6 oz (170g) dark chocolate or candy melts (melted), parchment paper, Betty Boop heart-shaped stencil.
Instructions
- Step 1
- Preheat oven to 350°F (175°C). Grease two 9-inch (23cm) heart-shaped cake pans and line the bottoms with parchment paper.
- Step 2
- In a medium bowl, whisk together cake flour, cocoa powder, baking powder, baking soda, and sea salt. Set aside.
- Step 3
- In the bowl of a stand mixer, beat butter on medium speed for 1 minute until creamy. Gradually add sugar and beat for 2–3 minutes until light and fluffy.
- Step 4
- Add eggs one at a time, beating on low speed after each addition until blended. Scrape down the bowl sides as needed.
- Step 5
- Stir in red gel food coloring, vanilla extract, and white vinegar until the batter is evenly colored.
- Step 6
- On low speed, alternately add dry ingredients in three parts and buttermilk in two parts, mixing just until incorporated. Do not overmix.
- Step 7
- Combine 1 teaspoon distilled vinegar with baking soda, then fold into the batter to create a light crumb.
- Step 8
- Divide batter between pans and bake for 25–30 minutes, or until a toothpick comes out clean.
- Step 9
- Cool in pans for 10 minutes, then invert onto wire racks and cool completely.
- Step 10
- Beat cream cheese and butter until smooth. Gradually add powdered sugar, salt, and vanilla until fluffy. Transfer to a piping bag or keep chilled.
- Step 11
- Level cake layers if needed. Stack with ¾ cup of frosting in between, then refrigerate for 15 minutes.
- Step 12
- Apply a crumb coat, chill for 10 minutes, then add a final smooth layer of frosting.
- Step 13
- Place stencil under parchment. Pipe melted chocolate over the outline and let it set at room temperature or in the fridge.
- Step 14
- Peel the chocolate silhouette from the parchment and gently press it onto the center of the cake.
- Step 15
- Decorate edges with frosting rosettes or red sugar pearls. Chill for 30 minutes before slicing with a warm, clean knife.
Zusatztipps für die Zubereitung
For the most vibrant red color without altering the consistency of your batter, always opt for gel-based food coloring. It is also vital that your butter, eggs, and buttermilk are at room temperature to ensure the batter emulsifies properly and the cake rises evenly.
Varianten und Anpassungen
If you prefer a different look, you can swap the dark chocolate silhouette for white chocolate dyed black with oil-based coloring for a sharper contrast. You can also customize the decoration by adding edible glitter or red sugar pearls along the base of the cake.
Serviervorschläge
To achieve clean, professional slices, use a warm, clean knife to cut through the layers. This cake is best served slightly chilled or at room temperature, paired with a glass of milk or a light coffee to complement the rich cream cheese frosting.
 Save
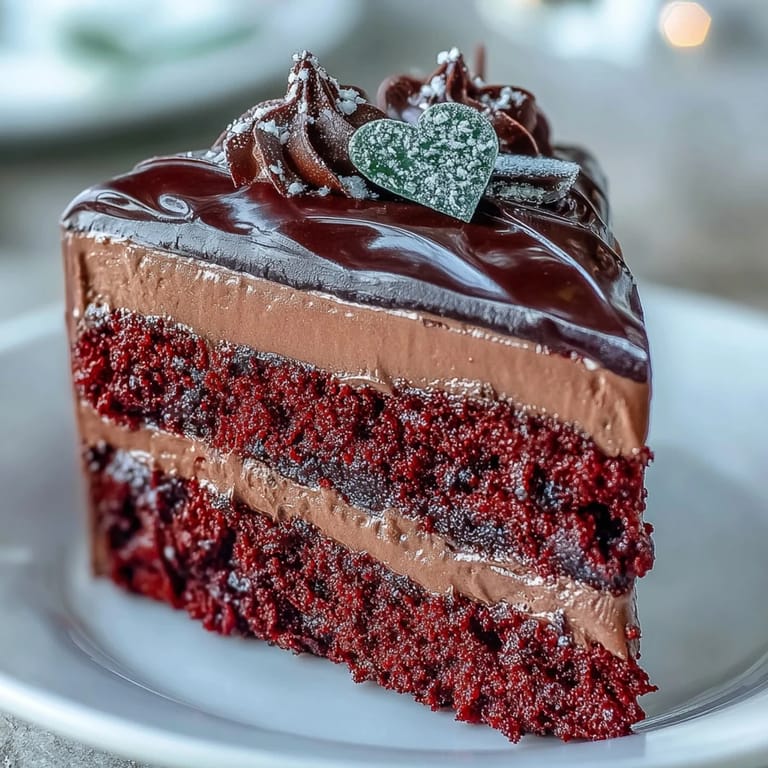
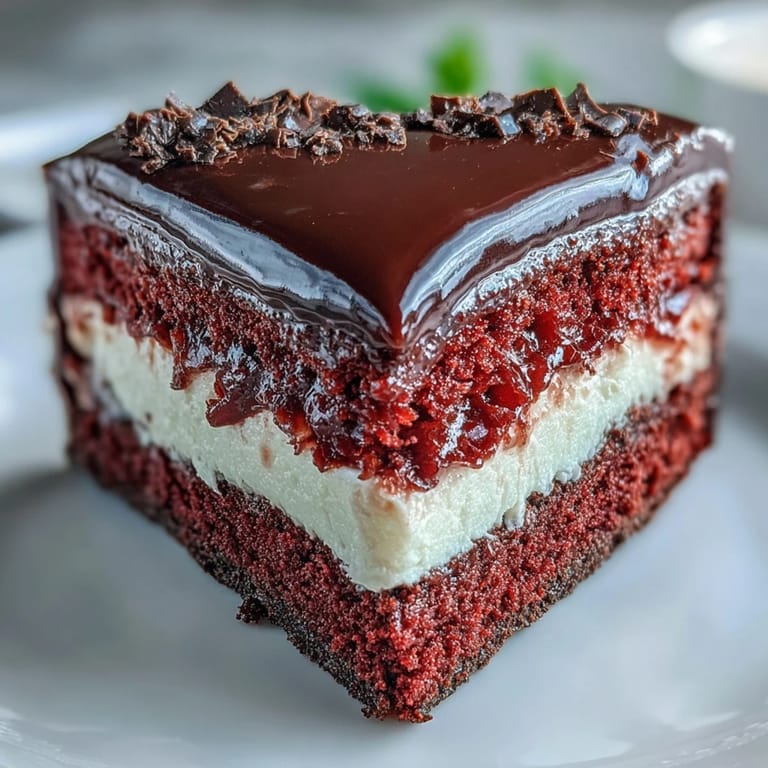
Save Enjoy the process of assembling this Red Betty Boop Heart Cake. It is a rewarding project that combines baking skills with creative decoration, resulting in a dessert that is as delicious as it is visually striking.
Recipe FAQs
- → How far in advance can I make this heart cake?
The unfrosted layers can be baked and wrapped in plastic for up to 2 days at room temperature or frozen for up to 3 months. The assembled frosted cake keeps well in the refrigerator for up to 4 days, though the chocolate silhouette is best added within 24 hours of serving to maintain its crisp appearance.
- → Can I use regular food coloring instead of gel?
Gel-based coloring provides the most vibrant red shade without thinning the batter. Liquid food coloring can work but requires significantly more quantity, which may affect the cake's texture and baking time. If using liquid, reduce the buttermilk slightly to compensate for the added liquid.
- → What's the purpose of vinegar in the batter?
The vinegar activates the baking soda, creating tiny bubbles that result in a lighter, tender crumb. It also enhances the red color development when paired with cocoa powder, deepening the vibrant hue while balancing sweetness with subtle tanginess.
- → How do I prevent the chocolate silhouette from breaking?
Ensure your chocolate is properly tempered and completely set before attempting to remove it from the parchment. Work in a cool room and avoid touching the chocolate with warm fingers. If it cracks, you can gently press the pieces together on the frosting or pipe small amounts of melted chocolate to mend seams.
- → Can I make this without heart-shaped pans?
You can bake in round 9-inch pans and use a heart-shaped template to cut out the form after cooling, though this yields smaller portions. Alternatively, bake in standard round pans and decorate the top with the chocolate heart silhouette for a similar effect without specialized equipment.
- → Why does my frosting sometimes become runny?
Soft cream cheese or butter can lead to runny frosting. Ensure both ingredients are slightly cool to the touch but pliable—about 65°F. If frosting becomes too soft, refrigerate the bowl for 15-20 minutes and re-whip. Adding sifted powdered sugar gradually also helps achieve the perfect spreadable consistency.